Retro starting look
A balanced throwback finish. Exploring several looks from one image.
Build your own digital-camera look.
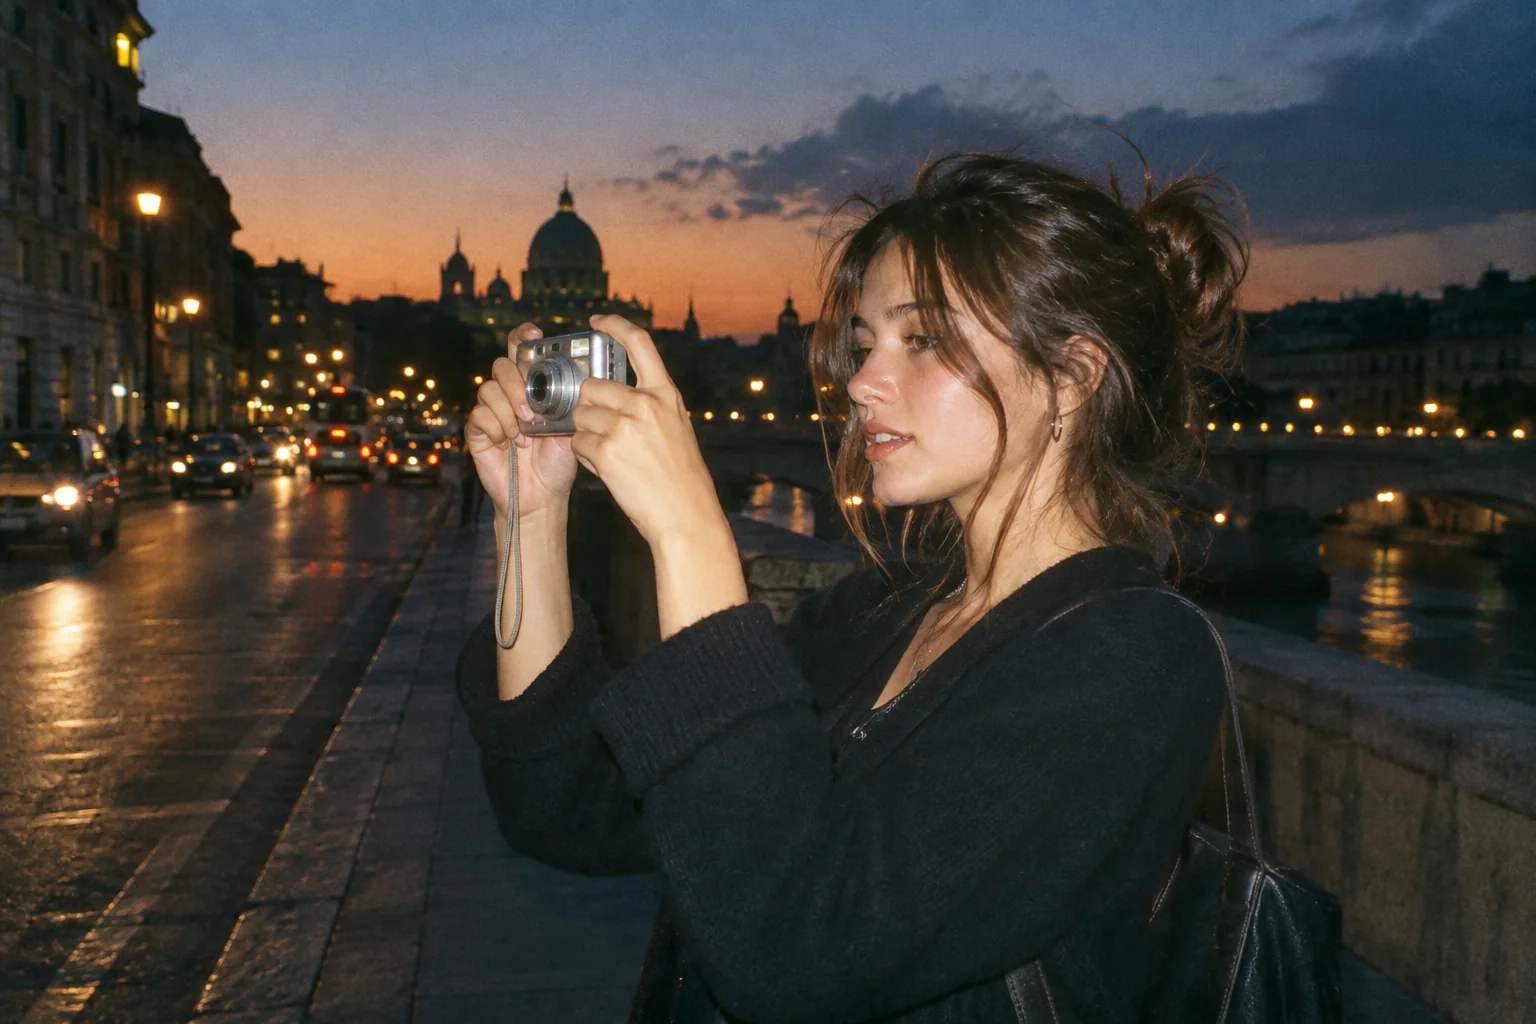
Upload a photo, pick a camera mood and export a new version in your browser.
This export is processed in your browser. No image is sent to the server. The original file is not changed.
A balanced throwback finish. Exploring several looks from one image.
Change effect intensity, grain and vignette independently; compare with the original before saving.
Keep Original or choose 1:1, 4:5 or 9:16. Add an LCD or Instant frame when it suits the photo.
Enter your own text and turn the stamp on or off. The stamp is decorative, not evidence of when a photo was taken.
Import a JPG, PNG or WebP, then download a JPG or PNG. Inspect the saved file before sharing.
No registration is required. Optional server export uploads the image and can differ from the browser preview.
The Retro Photo Editor brings the available color looks and finishing controls into one workspace. It opens with Retro, then lets you compare CCD, Digital Camera, Y2K, Film, Instant and VHS using the visible preset buttons. Switching a preset changes the active treatment; it does not build a stack of multiple presets.
 Original
 Retro example
Work in a deliberate order: choose a color direction, set intensity, add grain or vignette, and only then choose framing and a date. This makes it easier to see which control changes the result. Use Compare to check the source and Reset to return to the editor’s starting settings.
Make two versions of the same travel portrait: one with Film and low grain, then another with CCD. Save each version separately and compare the actual downloads.
This workspace edits one still image at a time. It does not provide layers, masking, batch exports or a movable crop selection.
Follow these steps with your own photo. The illustrations show the controls schematically; the rendered examples use this tool’s preset.
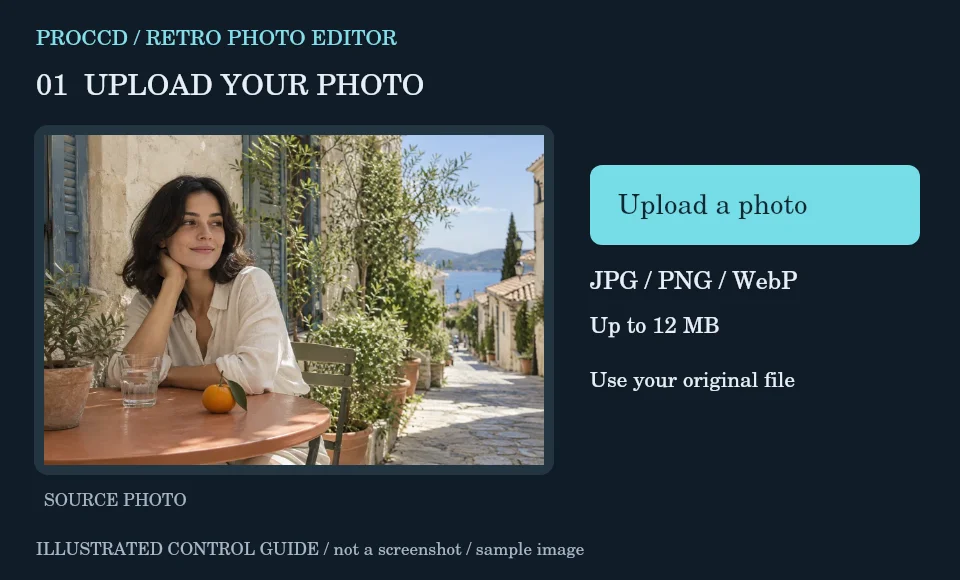
Upload one JPG, PNG or WebP. Use an unfiltered source when comparing the available looks.
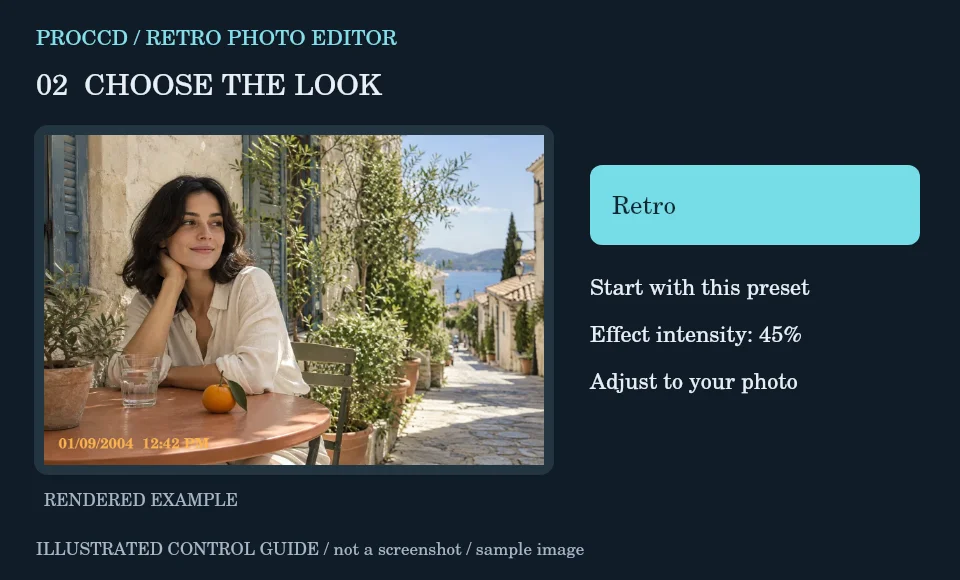
Try the visible camera-style buttons and choose one. Switching styles replaces the current preset rather than layering it over another.
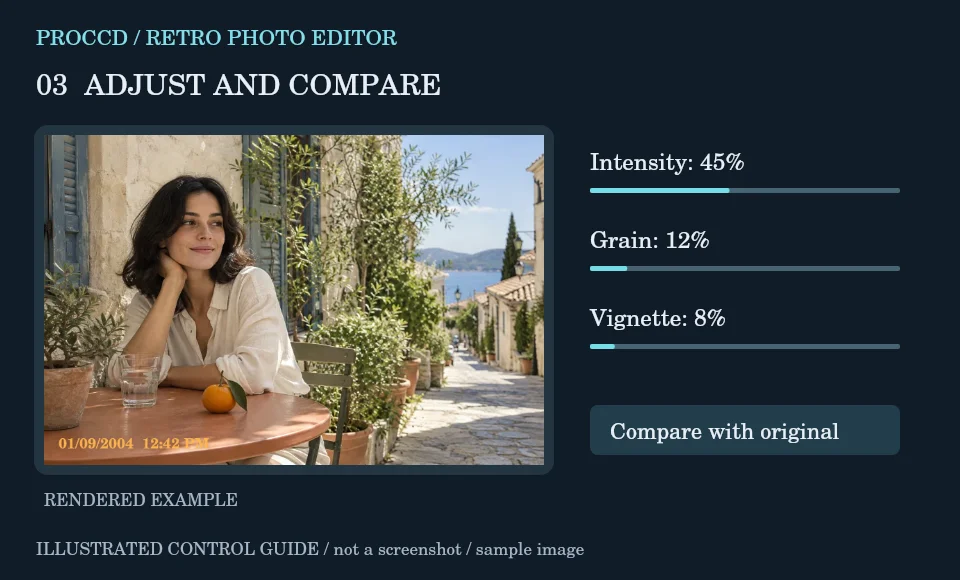
Tune intensity, Grain and Vignette. Choose a frame and toggle the editable date stamp; compare before committing to these details.
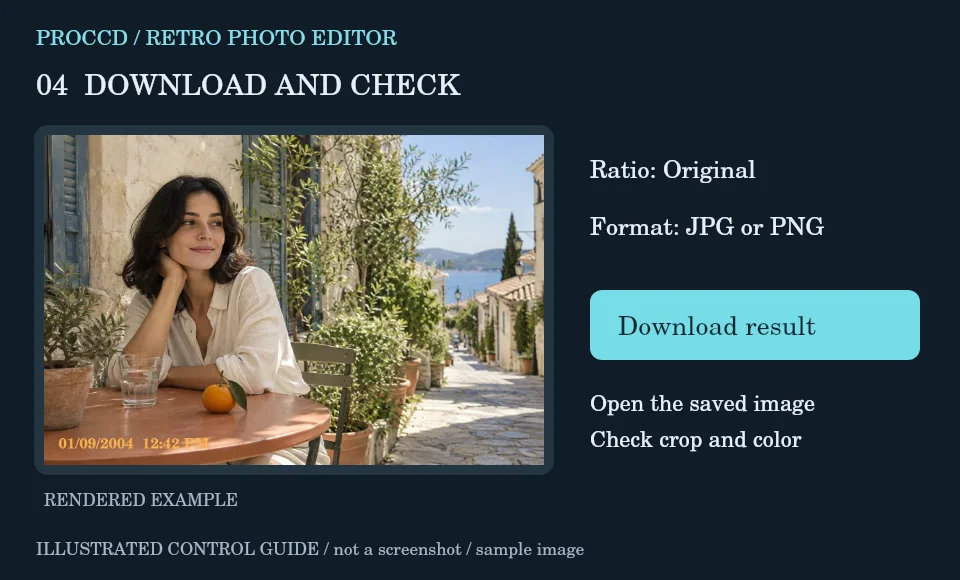
Set the output ratio and JPG or PNG format. Download each variation separately; use Reset when you want to start over.
Explore a related finish, then return to this editor to compare your choice.
Only one preset is active at a time. Grain, vignette, frame and stamp controls can be used with that preset.
These tool pages use a simpler still-photo editor. Studio is a separate interface with named camera profiles, modes and camera/video features.
The tool-page editor accepts JPG, PNG and WebP up to 12 MB, with a maximum side of 8000 pixels and a 25 MP limit. Opt-in server processing has a 12 MP client limit and also depends on the server configuration.
The default export is processed in your browser. Selecting Use server processing for this export uploads your image when you download. The server uses a different renderer, so its result may differ from the browser preview.