Photo Booth starting look
Flashy, close-up booth energy. Selfies, close-ups and friend photos.
Flashy, close-up booth energy.
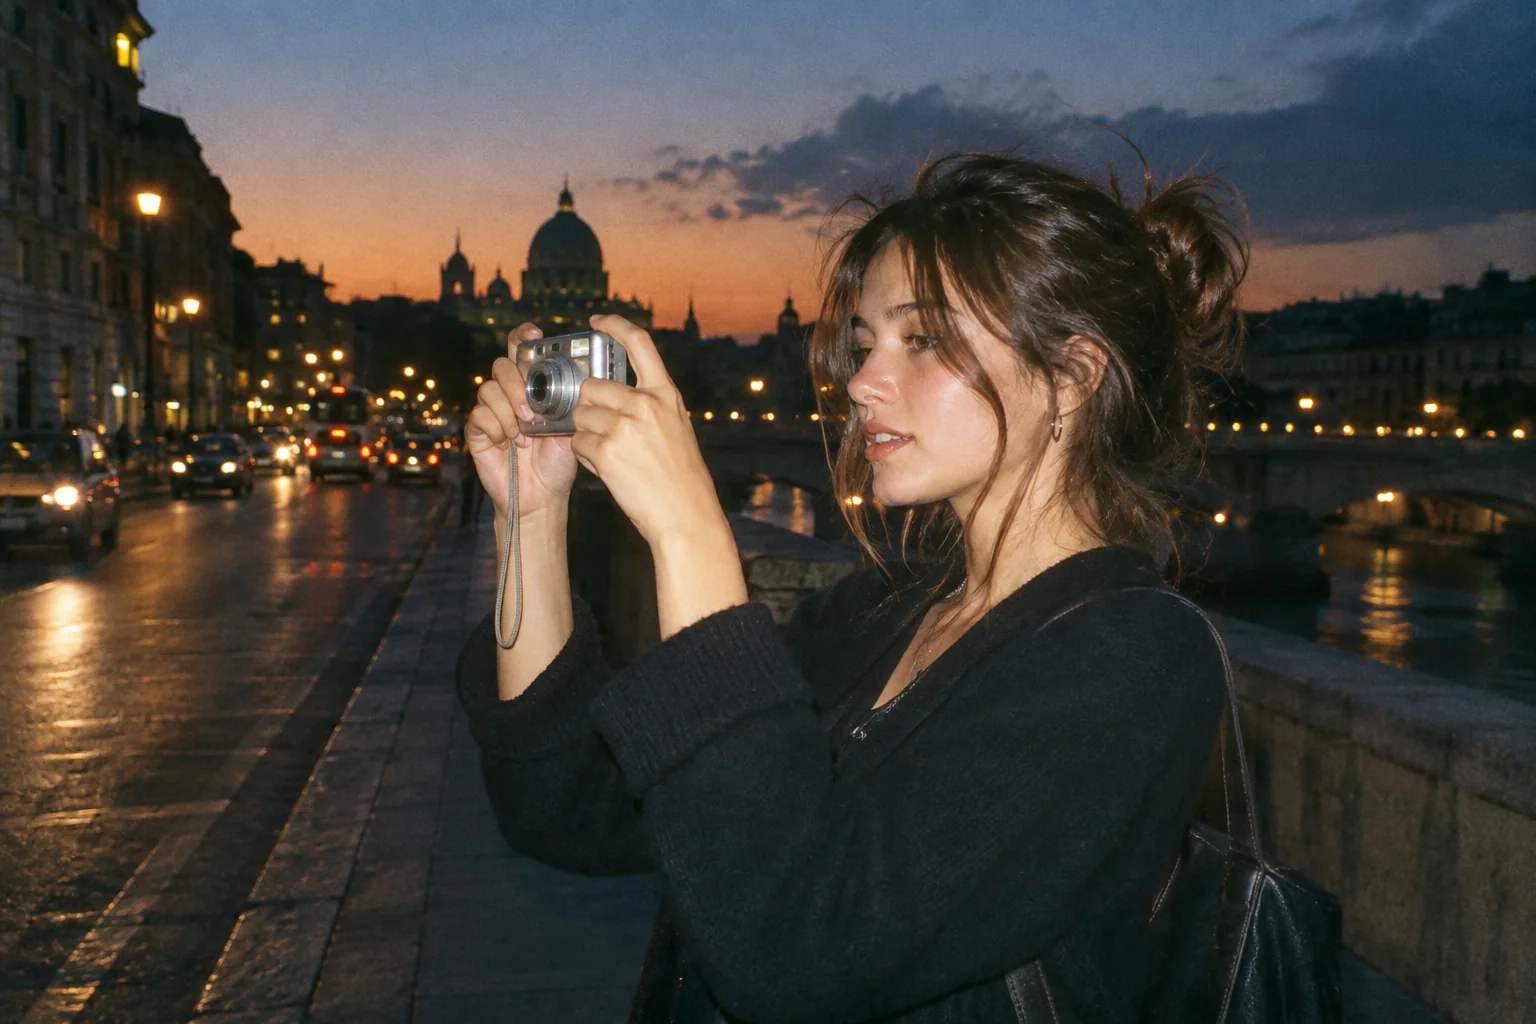
Upload a photo, pick a camera mood and export a new version in your browser.
This export is processed in your browser. No image is sent to the server. The original file is not changed.
Flashy, close-up booth energy. Selfies, close-ups and friend photos.
Change effect intensity, grain and vignette independently; compare with the original before saving.
Keep Original or choose 1:1, 4:5 or 9:16. Add an LCD or Instant frame when it suits the photo.
Enter your own text and turn the stamp on or off. The stamp is decorative, not evidence of when a photo was taken.
Import a JPG, PNG or WebP, then download a JPG or PNG. Inspect the saved file before sharing.
No registration is required. Optional server export uploads the image and can differ from the browser preview.
Photo Booth gives one photograph a bright, colorful booth-inspired finish. It works on selfies and close-up friend photos, but this page does not take four timed pictures or assemble a strip. The result remains a single edited image, with optional framing and a date overlay.
 Original
 Photo Booth example
Keep enough room around every face before choosing a square or portrait crop. Direct-looking color can be fun for a close-up, but bright skin and saturated backgrounds can compete. Set intensity with the faces in mind, then decide whether the LCD or Instant frame adds anything useful.
Upload a two-person selfie. Preserve both faces with Original ratio first, tune the color, then try a square crop only if everyone still fits.
This tool is not an automatic collage, multi-shot booth or background replacement service. The optional frame overlays one image.
Follow these steps with your own photo. The illustrations show the controls schematically; the rendered examples use this tool’s preset.
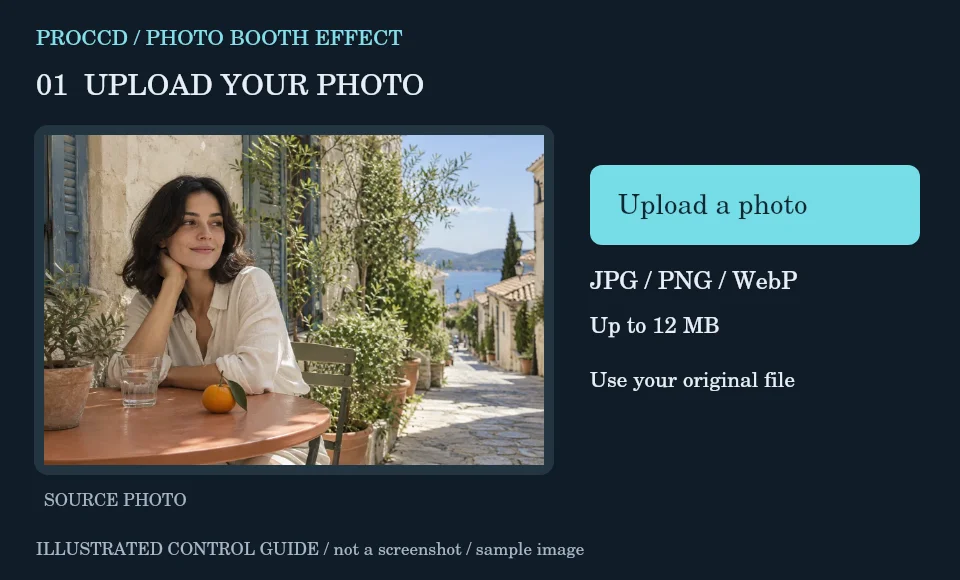
Upload one selfie or group close-up. Make sure all faces are visible in the source before changing its ratio.
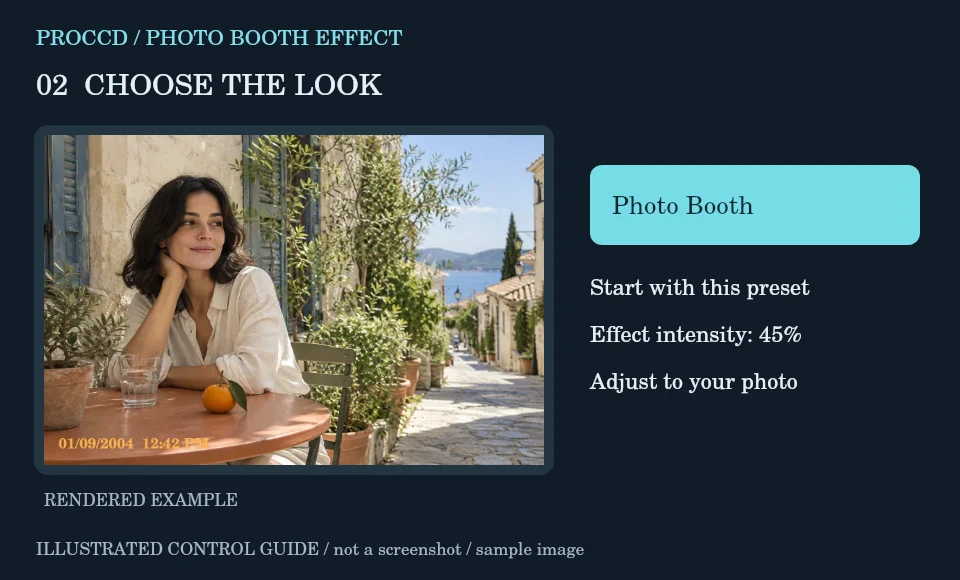
Keep the Photo Booth preset and adjust intensity while checking the lightest face in the image.
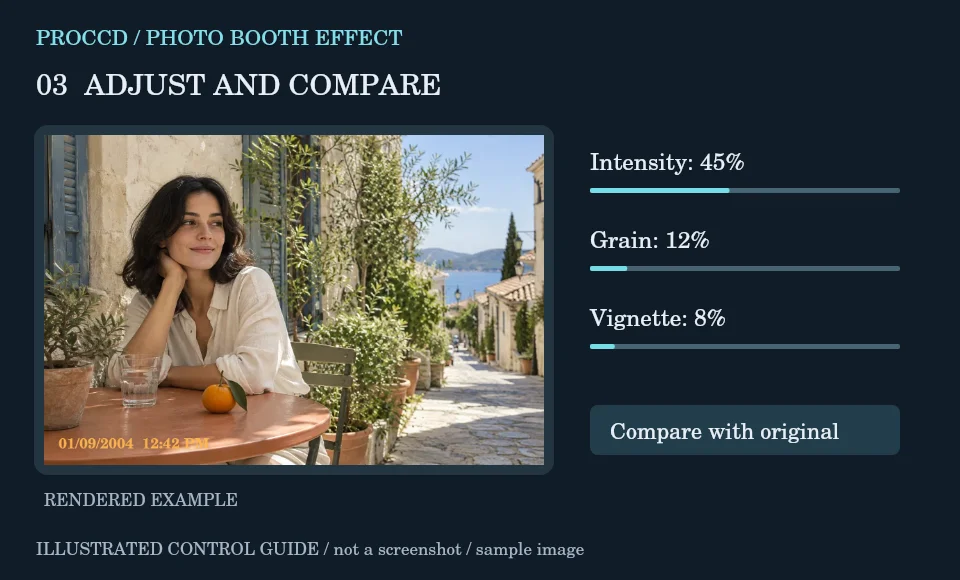
Choose a frame if desired and edit the stamp text. Use Compare to check whether texture or vignette is distracting from faces.
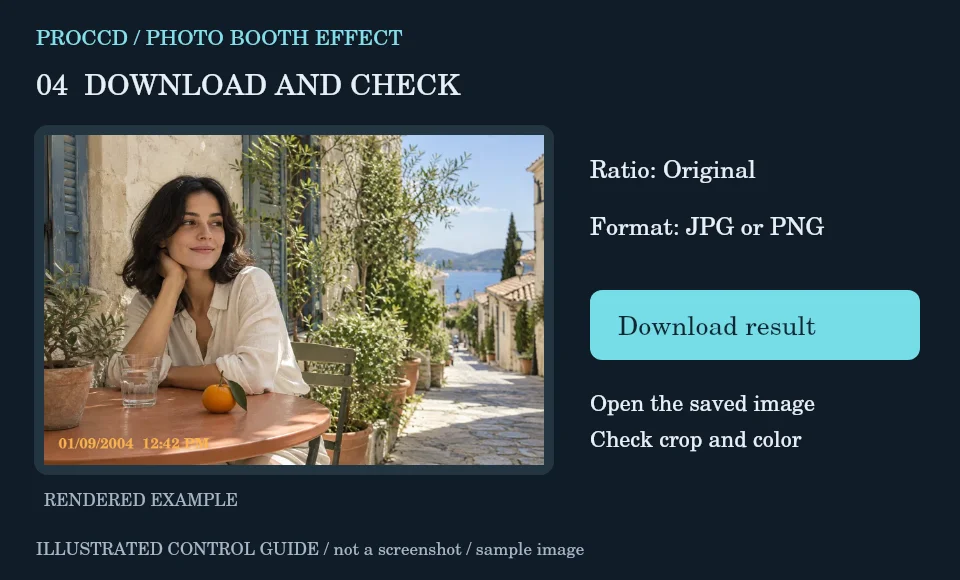
Review the centered output crop and save JPG or PNG. For multiple photos, edit and download each one individually.
Explore a related finish, then return to this editor to compare your choice.
No. It processes one still image and does not automatically capture or assemble a sequence.
Yes. The Frame controls offer None, LCD and Instant. Check the preview for image content covered by the selected overlay.
The tool-page editor accepts JPG, PNG and WebP up to 12 MB, with a maximum side of 8000 pixels and a 25 MP limit. Opt-in server processing has a 12 MP client limit and also depends on the server configuration.
The default export is processed in your browser. Selecting Use server processing for this export uploads your image when you download. The server uses a different renderer, so its result may differ from the browser preview.